How to Automate Typeform to HubSpot to Slack in 10 Minutes
Step-by-step tutorial to connect Typeform submissions to HubSpot contact creation and Slack notifications using n8n. Includes Zapier alternative and node configuration details.
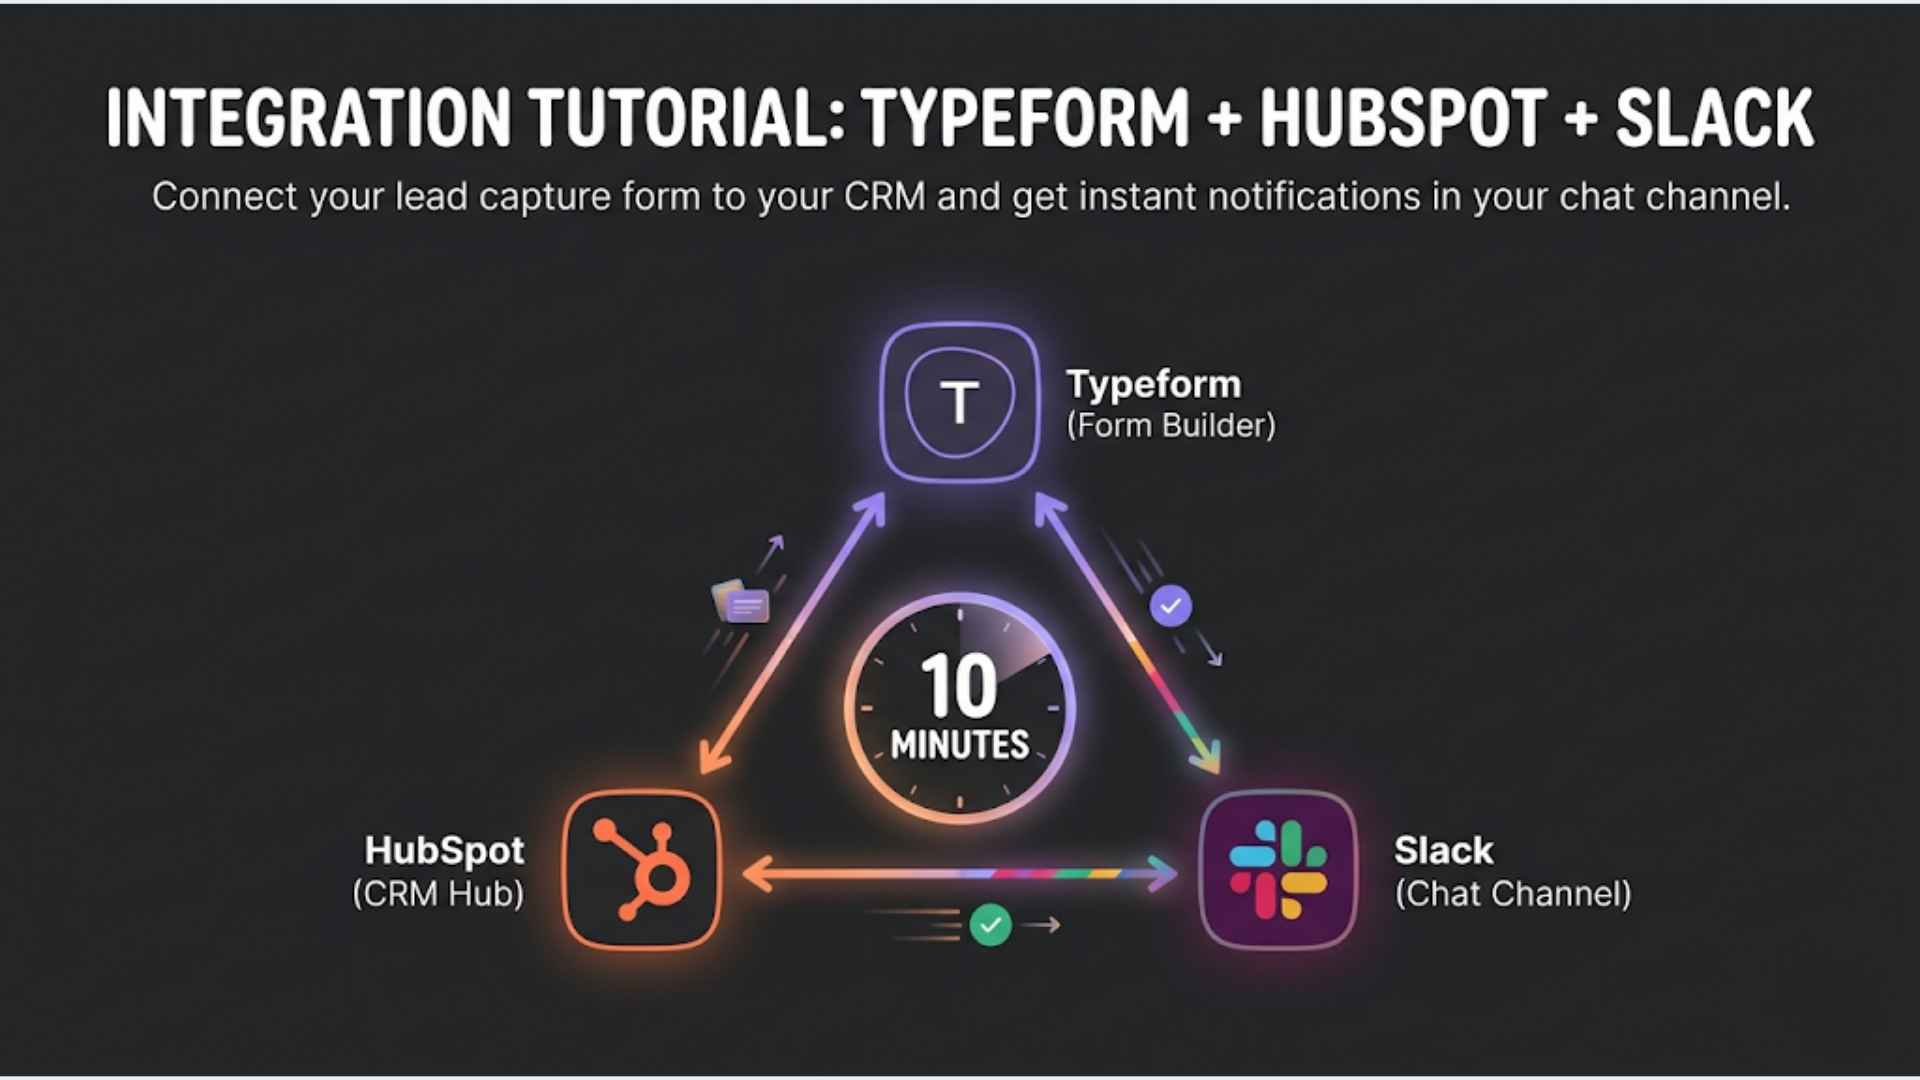
How to Automate Typeform to HubSpot to Slack in 10 Minutes
This tutorial connects a Typeform submission to HubSpot (creates or updates a contact) and sends a Slack notification, all in a single automated workflow. Using n8n, you’ll have it running in under 10 minutes. Using Zapier, about 15 minutes. Zero coding required.
I build these integrations daily for clients. Typeform to CRM to Slack is probably the most requested workflow I see from marketing teams. Someone fills out a lead form, a contact is created in the CRM, and the sales team gets pinged in Slack. Simple in theory. Here’s exactly how to build it.
What You Need Before Starting
Accounts required:
- Typeform (any plan, including free)
- HubSpot (Free CRM works fine)
- Slack workspace with permission to add apps
- n8n Cloud ($20/mo) or self-hosted n8n (free)
Time required: 8-12 minutes for n8n. 12-18 minutes for Zapier (more clicking, same result).
What you’ll build:
A three-step automation: Typeform submission triggers the workflow. HubSpot contact is created or updated with the form data. Slack message posts to a channel with the new lead’s details. If the Typeform includes a question like “What’s your budget?” or “What service are you interested in?”, that context goes into both HubSpot properties and the Slack message.
Let’s build it.
Step 1: Set Up the Typeform Webhook
Typeform can send data to external systems two ways: through direct integrations (limited) or webhooks (flexible). We’re using webhooks because they give you the raw data and work with any automation platform.
In Typeform:
- Open your form and go to Connect > Webhooks
- Click “Add a webhook”
- You’ll need a webhook URL from n8n (we’ll get this in the next step, so keep this tab open)
In n8n:
- Create a new workflow
- Add a “Webhook” trigger node
- Set the HTTP method to POST
- Copy the webhook URL that n8n generates (it looks like:
https://your-instance.n8n.cloud/webhook/abc123) - Go back to Typeform and paste this URL in the webhook configuration
- Save the webhook in Typeform
Test the connection:
Go to your Typeform and submit a test entry. Fill in realistic data (you’ll use this to map fields in the next steps). After submitting, go back to n8n. The webhook node should show the received data. You’ll see the form responses as JSON fields.
What the data looks like:
Typeform sends a JSON payload with an answers array. Each answer has a field object (with the question reference) and a text, email, number, or choice value depending on the question type. You’ll reference these fields in the next step.
Common gotcha: Typeform webhooks only fire on complete submissions, not partial ones. If someone abandons the form halfway, you won’t get a webhook. This is usually what you want, but if you need partial submission data, you’ll need Typeform’s Responses API on a polling schedule instead.
Step 2: Create or Update the HubSpot Contact
Now you have form data flowing into n8n. The next node creates a contact in HubSpot (or updates an existing one if the email already exists).
Add the HubSpot node in n8n:
- Click the + button after the Webhook node
- Search for “HubSpot” and select it
- Connect your HubSpot account (n8n will prompt you for OAuth authorization)
- Set the Resource to “Contact”
- Set the Operation to “Create or Update”
Map the form fields:
This is where you connect Typeform answers to HubSpot contact properties. Click on each HubSpot field and map it to the corresponding Typeform answer.
Common field mapping:
| HubSpot Property | Typeform Field Path |
|---|---|
{{$json.form_response.answers[0].email}} | |
| First Name | {{$json.form_response.answers[1].text}} |
| Last Name | {{$json.form_response.answers[2].text}} |
| Phone | {{$json.form_response.answers[3].phone_number}} |
| Company | {{$json.form_response.answers[4].text}} |
The exact field paths depend on your form structure. n8n’s expression editor shows you the available fields from the test submission, so you can click to select rather than typing paths manually.
Add custom properties:
If your Typeform asks “What’s your budget?” or “How did you hear about us?”, create corresponding properties in HubSpot first (Settings > Properties > Create Property), then map them in the n8n node. This context in the CRM is what makes the lead useful for your sales team.
The “Create or Update” operation is critical. If someone fills out your form twice (maybe they submitted once with a typo in their name), the workflow updates the existing contact instead of creating a duplicate. HubSpot deduplicates on email address. This is the behavior you want.
Error handling:
Add an error output from the HubSpot node. If the API call fails (bad data, rate limit, authentication expired), route to an error handler that sends you a Slack DM: “HubSpot contact creation failed for [email]. Error: [message].” This way you don’t silently lose leads.
Step 3: Send the Slack Notification
The final node posts a message to Slack so your team knows a new lead came in.
Add the Slack node in n8n:
- Click the + button after the HubSpot node
- Search for “Slack” and select it
- Connect your Slack workspace (OAuth authorization)
- Set Channel to your leads channel (e.g., #new-leads or #sales)
- Set the message format
Message template:
Build a message that gives your team enough context to act. Don’t just say “New lead submitted.” Include the details that matter.
Here’s a template that works well:
New Lead from Typeform

Name: {{$node["HubSpot"].json.properties.firstname.value}} {{$node["HubSpot"].json.properties.lastname.value}}
Email: {{$node["HubSpot"].json.properties.email.value}}
Company: {{$node["HubSpot"].json.properties.company.value}}
Budget: {{$json.form_response.answers[5].choice.label}}
Interest: {{$json.form_response.answers[6].text}}

HubSpot: https://app.hubspot.com/contacts/YOUR_PORTAL_ID/contact/{{$node["HubSpot"].json.id}}
The HubSpot link at the bottom lets your sales team click directly to the contact record. No searching. Swap YOUR_PORTAL_ID with your actual HubSpot portal ID (find it in HubSpot settings).
Rich formatting (optional):
Slack supports Block Kit for richer messages. In n8n, switch to “Block Kit” format in the Slack node and use JSON blocks for headers, dividers, and button actions. For most teams, the simple text format above is sufficient. Rich formatting is a nice-to-have, not essential.
Tagging team members:
If you want the Slack message to tag specific people (like your sales lead), add <@U1234567> to the message (replace with the actual Slack user ID). You can find user IDs by clicking someone’s profile in Slack > More > Copy Member ID.
For dynamic tagging (e.g., route enterprise leads to a senior rep and SMB leads to a junior rep), add an IF node between HubSpot and Slack that checks the budget/company size field and routes to different Slack channels or tags different team members.
Step 4: Test the Complete Workflow
Before activating, test the entire flow end-to-end.
- In n8n, click “Execute Workflow” (this puts it in listening mode)
- Open your Typeform and submit a test entry with realistic data
- Watch the workflow execute in n8n. Each node should show a green checkmark
- Verify in HubSpot: Is the contact created with all correct properties?
- Verify in Slack: Did the notification post to the right channel with correct details?
Common issues and fixes:
Typeform webhook not firing: Make sure the webhook is active (green toggle in Typeform). Also ensure the n8n workflow is in “listening” mode or activated for production.
HubSpot field mapping wrong: Check the field paths in the expression editor. Typeform’s JSON structure nests answers inside form_response.answers[]. Each answer’s value is in a different property depending on the field type (.text, .email, .choice.label, .number).
Slack message not posting: Verify the Slack bot has permission to post in the target channel. Go to the channel settings > Integrations > Add Apps and add your n8n Slack app.
Duplicate contacts in HubSpot: Make sure you’re using “Create or Update” operation, not “Create.” Also verify the email field is mapped correctly. HubSpot deduplicates on email only.
The Zapier Alternative (If You Don’t Use n8n)
The same automation in Zapier takes about 15 minutes. Here’s the condensed version.
Step 1: Create a new Zap. Trigger: Typeform > New Entry. Connect your account and select the form.
Step 2: Action 1: HubSpot > Create or Update Contact. Map the fields exactly as described above.
Step 3: Action 2: Slack > Send Channel Message. Configure the channel and message template.
Step 4: Test and activate.
Zapier vs n8n for this workflow:
| Aspect | n8n | Zapier |
|---|---|---|
| Cost | $20/mo (cloud) or $0 (self-hosted) | $20/mo (Starter, 750 tasks/mo) |
| Setup time | 8-12 min | 12-18 min |
| Error handling | Built-in error branching | Basic retry only |
| Customization | Full code if needed | Limited transforms |
| Task limits | Based on execution time, generous | 750/mo on Starter, $50/mo for 2K |
| Speed | Near real-time (webhook) | Near real-time (webhook) |
For this specific workflow, either tool works fine. The difference shows up when you want to add complexity: conditional routing, data transformations, or multiple CRM operations. n8n gives you more flexibility at lower cost. Zapier gives you a gentler learning curve.
Extending the Workflow: 5 Useful Add-Ons
Once the basic flow works, these extensions take 5-10 minutes each and significantly increase the workflow’s value.
1. Auto-assign in HubSpot based on lead criteria: Add an IF node after Typeform. If budget > $10,000, set HubSpot contact owner to senior rep. If budget < $10,000, set to junior rep. This eliminates the “who’s taking this lead?” conversation in Slack.
2. Send a confirmation email to the lead: Add a Gmail or SendGrid node after HubSpot. Send a “Thanks for reaching out, we’ll get back to you within 24 hours” email. Include the specific service they asked about. This acknowledgment email increases conversion to meeting by 15-25% compared to no response.
3. Add to a Google Sheet for reporting: Add a Google Sheets node that appends every lead to a spreadsheet. Columns: date, name, email, company, budget, source, HubSpot link. Your weekly pipeline review meeting becomes data-driven instead of “let me check HubSpot.”
4. Enrich the lead with Clearbit or Apollo: Add an enrichment node between Typeform and HubSpot. The enrichment API returns company size, industry, revenue range, and technologies used. This data goes into HubSpot custom properties and the Slack notification. Your sales team sees “500-person SaaS company using Salesforce” instead of just a name and email.
5. Score leads and route to different Slack channels: Define a simple scoring model: enterprise company (10 points), budget > $20K (10 points), decision-maker title (5 points). Route scores above 20 to #hot-leads with @channel notification. Route others to #new-leads without alert. This prevents notification fatigue while ensuring high-value leads get immediate attention.
India-Specific Considerations
For teams in India using this workflow, a few adjustments make it more effective.
WhatsApp confirmation instead of (or in addition to) email:
Indian leads respond faster to WhatsApp than email. Add a WATI or WhatsApp Business API node after HubSpot to send a confirmation message to the lead’s phone number. “Hi [Name], thanks for reaching out to [Company]. We received your inquiry about [service]. A team member will contact you within 4 hours.” This costs ₹2-4 per message but gets 90%+ open rates vs 40-50% for email.
Razorpay link for paid consultations:
If your Typeform is for booking a paid consultation, add a Razorpay payment link generation node. The lead receives a payment link via WhatsApp and email within minutes of submitting the form. No manual invoicing. Payment confirmation triggers the calendar booking link.
Regional time zone handling:
If your sales team works IST but your leads come from multiple time zones, the Slack notification should include the lead’s local time zone. Typeform’s “Hidden Fields” feature can capture timezone via URL parameters. Include this in the Slack message so your team knows when to call: “Lead timezone: PST (currently 10:30 PM, call tomorrow).”
Zoho CRM instead of HubSpot:
Many Indian businesses use Zoho CRM instead of HubSpot. The workflow is identical. Replace the HubSpot node with the Zoho CRM node in n8n. Field mapping is the same concept. Zoho CRM’s API is well-supported in n8n. The main difference: Zoho CRM uses “Leads” as a separate module from “Contacts,” so set the resource to “Lead” for initial form submissions and convert to “Contact” when they become a client.
FAQ
How do I connect Typeform to HubSpot automatically? Use a webhook in Typeform to send form submissions to n8n (or Zapier). In n8n, add a HubSpot node that creates or updates a contact using the “Create or Update” operation. Map each Typeform answer to the corresponding HubSpot contact property. The entire setup takes 8-12 minutes. HubSpot deduplicates contacts by email address automatically.
Can I send Slack notifications when someone fills a Typeform? Yes. In n8n, add a Slack node after your Typeform webhook trigger. Configure it with your Slack workspace and target channel. Build a message template that includes the form answers (name, email, company, their request). The notification posts within seconds of form submission.
Is n8n or Zapier better for Typeform to HubSpot automation? For a simple Typeform to HubSpot to Slack flow, both work equally well. n8n costs less ($20/month cloud or free self-hosted vs $20-50/month on Zapier depending on task volume), has better error handling, and allows more customization. Zapier is easier for non-technical users. Choose n8n if you plan to extend the workflow with conditional logic, enrichment, or complex routing.
How do I avoid duplicate contacts in HubSpot from Typeform? Use the “Create or Update” operation in the HubSpot node, not “Create.” HubSpot deduplicates on email address. If someone submits your form twice with the same email, the existing contact is updated with the latest data instead of creating a duplicate. Always map the email field correctly as this is the deduplication key.
How do I route different Typeform leads to different Slack channels? Add an IF node (or Switch node) between the HubSpot node and Slack node in n8n. Set conditions based on form answers: if budget > $10,000, route to #enterprise-leads; if they selected “pricing inquiry,” route to #sales; if they selected “support,” route to #support. Each branch connects to a different Slack node configured for the appropriate channel.
Can I add WhatsApp notifications to a Typeform workflow? Yes. Add a WATI or WhatsApp Business API node after the Typeform webhook in n8n. You’ll need a WhatsApp Business API account and a pre-approved message template. Map the lead’s phone number from the Typeform submission. The WhatsApp message sends within seconds of form submission. Cost: $0.04-0.08 per message.
Need help implementing this?
Book a free 30-minute discovery call. We'll map your current setup, identify quick wins, and outline what automation can do for your business.
Book a Free Discovery Call